Tips for Testing and Troubleshooting Electrical Relays
When electrical relays or contactors malfunction, they can disrupt entire systems, leading to downtime and costly repairs. This guide will take you through what electrical relays are, how to test them effectively, and offer tips for how to troubleshoot common issues.
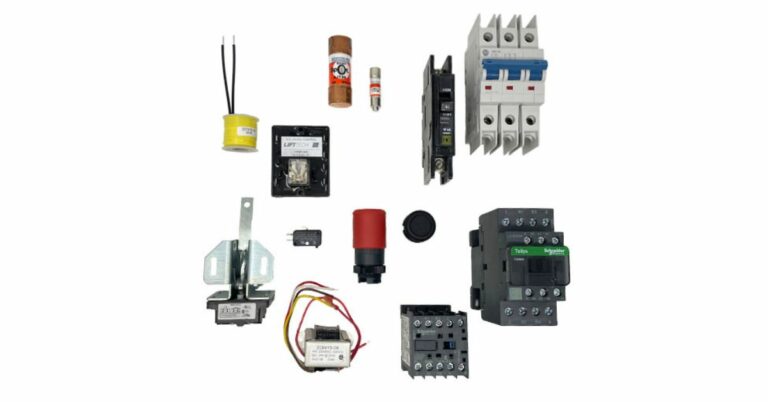
Introduction to Electrical Relays and Contactors
An electrical relay is an electromechanical device that controls the flow of electricity in a circuit, using low-power signals to open or close circuits and safely manage high-current applications. Relays are common in automobiles, industrial equipment, and household appliances like HVAC systems and alongside electrical contactors for heavy-duty switching. Relay types include electromagnetic relays that are known for durability, solid-state relays for faster and quieter operation, and specialized options like time-delay and reed relays for specific tasks.
How To Test Relays and Contactors
Step 1: Visual Inspection
Before using any tools, start with a thorough visual inspection of the relay. Look for physical signs of damage, such as corrosion, debris, or burnt components. Identifying and addressing these issues early can save time and prevent further complications during testing.
Step 2: Continuity Test
Once the relay passes the visual inspection, perform a continuity test using a multimeter. This determines whether the relay’s terminals allow electricity to flow when it should.
Set the relay to an open or closed position and measure the circuit connectivity. If continuity isn’t present, the relay fails in its primary function of switching circuits.
Step 3: Measure Coil Resistance
Next, set your multimeter to measure resistance in ohms and connect the probes to the relay’s coil terminals. A properly functioning coil will have resistance within the range specified for the relay. Significant deviations, such as very high resistance or an open circuit, indicate a coil failure.
Step 4: Voltage Test
Finally, conduct a voltage test by supplying the relay with its recommended voltage and observing its switching behavior. If the relay doesn’t switch when it should, it may have a poor connection or oxidized contacts.
Common Problems and Troubleshooting
After testing, if the electrical relays or contactors fail, you’ll want to troubleshoot the issue. Below are common problems for relays and contactors and how to fix them.
Relay Fails To Activate
One of the most frequent relay issues is activation failure. Typically, this is due to insufficient power supply to the relay’s coil or faulty terminals. Ensure the coil voltage matches the relay’s specifications and that the wiring connections are secure.
Relay Chattering or Vibrating
Relay chattering or vibrating typically occurs when the relay is receiving unstable power or because of insufficient coil voltage. Stabilize the power supply and verify that the control circuit delivers consistent voltage to prevent this issue.
Burnt or Damaged Contacts
Overheating or electrical arcing can burn contacts for relays that handle high-current loads. Replacing the damaged contacts or the entire relay, along with ensuring proper load management, can resolve this problem and prevent future occurrences.
Keep Your Relays Running Smoothly
Electrical relays are essential to many systems, and mastering testing and troubleshooting skills can greatly improve their reliability. To further refine your skills, explore online tutorials, manuals, and professional testing tools. Staying updated on best practices and investing in your expertise ensures you remain a trusted professional in your field.